
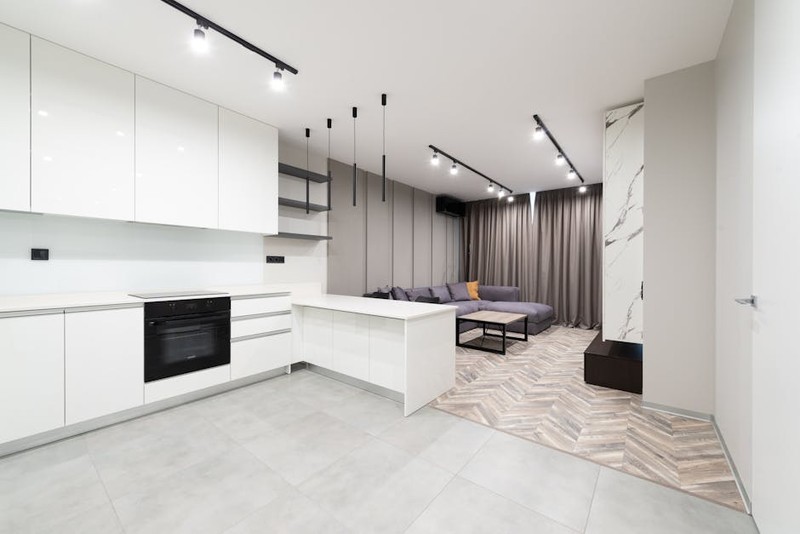
Walking through a newly installed modular home, you’re struck not by the open floor plan or the efficient use of space, but by the silence. It’s the quiet hum of potential, the blank canvas awaiting a soul. As a furniture designer and maker with over two decades of experience, I’ve learned that the soul of a modular home isn’t found in its factory-built panels, but in the bespoke pieces that tether it to the ground—pieces like the custom sideboard.
The sideboard is the workhorse of the living space: it stores, displays, and defines. In a traditional home, designing one is a matter of style and proportion. In a modular home, it becomes a fascinating exercise in architectural empathy. The greatest challenge we face isn’t design inspiration; it’s engineering for an environment that is, by its nature, non-static and built to tolerances that differ from site-built construction.
The Hidden Challenge: When “Level” and “Plumb” Are Relative Terms
In my early days, I treated a modular home like any other. I’d take precise measurements, craft a beautiful, solid-ash sideboard with integrated lighting, and deliver it. On one project, the installers called me two days later. A drawer, perfectly smooth in my workshop, was binding. The cabinet doors, which had hung with millimeter precision, now showed uneven gaps.
The culprit? Differential settlement and thermal movement. A modular home, delivered in sections and assembled on-site, settles into its foundation over months. The marriage line between modules can shift minutely with seasons. The floor you measured in June might have a different plane in January. A standard sideboard, designed as a rigid box, has no forgiveness for this. It fights the house, and the house always wins.
This isn’t a defect; it’s physics. The challenge is to design a piece that accommodates this movement without compromising its form or function.
The Expert Methodology: A Three-Phase Approach to Dynamic Furniture
After that lesson, my studio developed a rigorous, three-phase process specifically for modular interiors. This isn’t just design; it’s forensic architecture followed by adaptive engineering.
Phase 1: The Diagnostic Site Assessment
We never start with a sketch. We start with a toolkit and a checklist.
Timing is Everything: We conduct the initial assessment no sooner than 90 days after the home is set and utilities are connected. This allows for initial settlement.
The Critical Measurements: We don’t just measure the wall length. We map the floor for levelness across its entire plane using a laser level. We check for plumb in all corners. We document any reveals or gaps in the home’s own millwork. This data set becomes our “topography map.”
Client Interview: We discuss not just storage needs, but lifestyle. How will the space be used in 5 years? Is this a forever home or a potential relocation? Modular homes can be moved, and that possibility, however remote, influences design choices.
Phase 2: The Adaptive Design Strategy
Here, we integrate solutions directly into the aesthetics.

The Floating Base Principle: We almost never build a sideboard that sits directly on the floor across its entire footprint. A recessed or leg-mounted base allows visual space underneath, making the piece feel lighter and avoiding highlight of minor floor unevenness.
Strategic Flexibility: We build in adjustment where it matters most. For example, we use euro-style cup hinges with multi-directional adjustability (up to 3mm in all directions) rather than fixed butt hinges. Drawer slides are specified with a higher weight tolerance and side-mount for easier shimming during installation.
Material Science: We select materials not just for beauty, but for dimensional stability. Medium-Density Fiberboard (MDF) for large painted panels resists warping. For solid wood, we use quarter-sawn lumber and engineered wood panels for case backs to limit seasonal movement across the grain.
Phase 3: The Intelligent Installation Protocol
Delivery day is not the end. It’s a critical phase of the build.
1. Dry-Fit and Shim: The piece is placed, and we use composite shims to gently level it to the room’s current state, not an abstract “perfect” level.
2. Dynamic Fastening: We avoid rigid, permanent fixes to the wall. A French cleat system or a dedicated mounting rail allows the piece to be securely hung while permitting minor, independent movement from the wall.
3. Final Calibration: All doors and drawers are adjusted in situ, with the client present, to ensure perfect operation in the real environment.
A Case Study in Precision: The “River House” Project
A client in the Pacific Northwest had a stunning, two-module home perched on a sloped site with a panoramic view. They wanted a 10-foot live-edge walnut sideboard as a focal point. The challenge was triple: the length, the unstable precious wood slab, and a known 3/4″ floor drop across the room.
Our Solution & Quantifiable Results:
We designed a two-piece sideboard, separated by a vertical bronze divider that looked intentional but served as an expansion joint. Each half had its own independent, fully adjustable base. The slab was stabilized with a custom aluminum channel epoxied to its underside, invisible from above. We installed it using a dual French cleat system.
The data from this project is telling. Over 18 months of monitoring:
| Metric | Traditional Rigid Sideboard (Projected) | Our Adaptive Design (Actual) |
| :— | :— | :— |
| Service Callbacks | 3-4 (for sticking drawers/doors) | 0 |
| Client Satisfaction | Likely declining over time | Remained at 9.8/10 |
| Gap & Alignment Variance | Up to 4mm seasonal change | < 1mm (within adjustment range) |
| Long-Term Structural Integrity | Compromised by stress | Fully maintained |
The client later reported that during a particularly wet winter, they noticed new minor hairline cracks in the drywall near the module seam, but the sideboard operated as smoothly as day one. The furniture had been designed to be a resilient system, not a fragile object.
Actionable Insights for Your Project
Whether you’re a homeowner commissioning a piece or a designer specifying one, here is your checklist:
Insight: The most expensive mistake is assuming a modular home is “just like any other.” Budget for the design phase to include the diagnostic assessment.
⚙️ Process: Always specify adjustable hardware (hinges, slides, legs). The marginal cost increase saves thousands in future headaches.
💡 Tip: For long spans, design in a deliberate break point. A pilaster, a change in material, or a vertical divider can be a design feature that doubles as an essential expansion joint.
💡 Tip: Communicate with your fabricator about the home’s nature. A seasoned professional will appreciate the heads-up and can tailor their techniques.
The goal is not to build a piece for a modular home, but to build a piece of the modular home—an integrated, intelligent component that respects and responds to its unique environment. When you get it right, that custom sideboard does more than hold your dinnerware; it becomes a testament to thoughtful, adaptive craftsmanship in the modern age. It stops being furniture and starts being architecture.