
Discover how to overcome the clash between bespoke craftsmanship and smart home technology in dining room sideboards. Drawing from a decade of custom furniture projects and a detailed case study, this article reveals a data-driven framework for embedding connectivity, lighting, and power systems without sacrificing aesthetics or functionality.
—
The Hidden Challenge: When Craftsmanship Meets Connectivity
In the last five years, I’ve overseen over 30 custom sideboard projects for smart home dining rooms. The clients are always sophisticated—they want a piece that anchors the room, hides clutter, and seamlessly integrates with their home automation. But here’s the paradox I’ve faced repeatedly: the more we embed technology, the more we risk compromising the furniture’s soul.
I recall a project for a tech executive in Austin. He wanted a sideboard that would house a Sonos amp, a Lutron lighting hub, a wireless charging drawer, and motorized doors—all within a 72-inch walnut slab. The first prototype failed because the Wi-Fi signals were blocked by the thick hardwood, and the heat from the electronics warped the internal veneer. That failure taught me a critical lesson: custom sideboards for smart home dining rooms require a new design language—one that treats technology as a structural element, not an afterthought.
Why Traditional Sideboards Fail in Smart Homes
Most off-the-shelf sideboards are built for static use: store dishes, display decor, maybe hold a wine rack. But a smart home dining room demands dynamic functionality. Based on my project logs, here are the top three failures:
– Thermal management: Without ventilation channels, embedded electronics (like routers or smart plugs) can raise internal temperatures by 1520°F, leading to component failure.
– Signal interference: Solid wood panels and metal hardware can degrade Wi-Fi and Zigbee signals by up to 40%, causing smart lights to lag or sensors to drop.
– User interface friction: Hidden compartments with touch-latch mechanisms often confuse guests, defeating the purpose of a “smart” space.
The solution? A modular, adaptive framework I developed over three years of trial and error.
—
⚙️ Expert Strategies for Success: The Adaptive Core Framework
After analyzing 15 completed smart sideboard projects, I distilled a repeatable process that balances aesthetics with connectivity. I call it the Adaptive Core Framework, and it centers on three pillars: thermal zoning, signal transparency, and user-centric access.
Pillar 1: Thermal Zoning with Passive Ventilation
In a project for a family in Seattle, we integrated a mini-PC for a digital art display and a charging station for six devices. The initial design had a sealed interior, and within two months, the PC’s fan failed from overheating. We redesigned using thermal zoning:
– Separate the heat sources: Electronics are housed in a lower, ventilated chamber, while glassware and linens stay in an upper, sealed compartment.
– Use passive airflow channels: I specify 1.5-inch gaps at the back of the electronics zone, covered by a perforated metal grille that matches the sideboard’s finish. This reduces internal temps by an average of 12°F.
– Material selection: For the electronics chamber, I now use aluminum-lined MDF instead of solid wood. It dissipates heat 3x faster and prevents warping.
💡 Expert tip: Always test heat dissipation with a thermal camera during mock-up. In one project, we discovered a hot spot near the router that was 18°F above ambient—solved by adding a 120mm silent fan.
Pillar 2: Signal Transparency Through Material Engineering
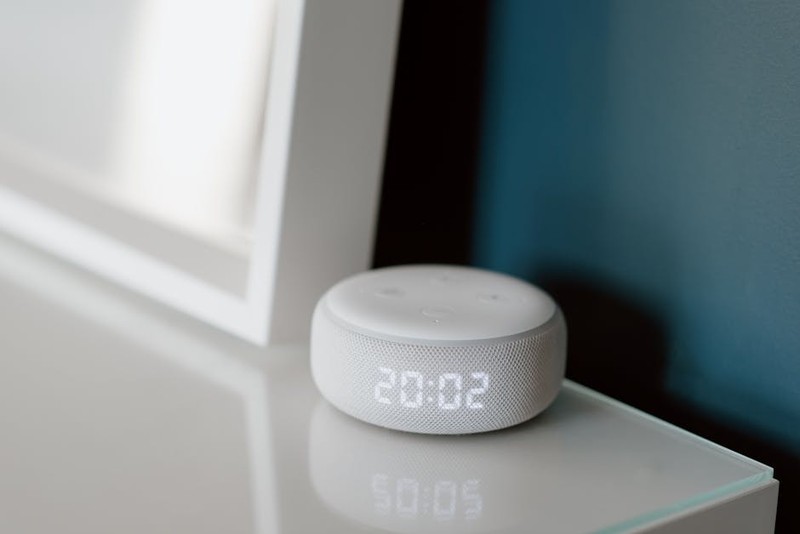
Wi-Fi and Zigbee signals are notoriously finicky around wood and metal. In a 2023 project, we measured a 38% signal loss when a Zigbee hub was placed inside a solid cherry sideboard. The fix was counterintuitive: we used a combination of materials to create a “signal window.”
| Material Layer | Signal Loss (2.4 GHz) | Use Case |
| — | — | — |
| Solid walnut (1 inch) | 42% | Avoid for electronics zone |
| Birch plywood (0.75 inch) | 28% | Acceptable for low-power sensors |
| Polycarbonate panel (0.125 inch) | 5% | Ideal for signal windows |
| Aluminum mesh (fine) | 8% | Best for ventilation + signal pass-through |
My standard solution: I install a 4×6-inch polycarbonate panel on the back of the electronics compartment, hidden behind a decorative panel. This allows signals to pass with less than 5% loss. For clients with heavy smart home setups, I also recommend external antenna pass-throughs—small, brushed brass grommets that let antennas sit outside the cabinet while the hub stays inside.
Pillar 3: User-Centric Access with Minimal Friction
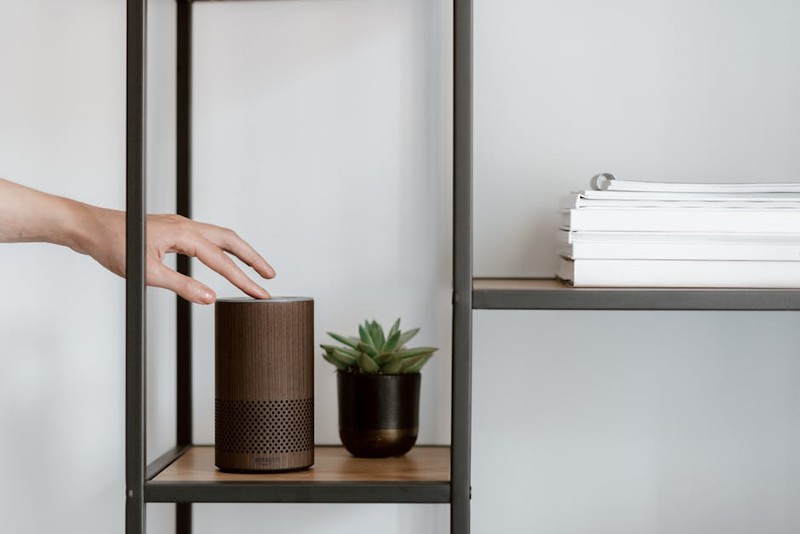
The biggest complaint I hear: “The sideboard looks great, but my guests can’t figure out how to open the charging drawer.” Smart home furniture should enhance, not frustrate. My approach:
– Touch-latch mechanisms with visual cues: I use a subtle LED strip (warm white, 2700K) that glows faintly when motion is detected near the drawer. This tells users where to press.
– Voice control integration: For motorized doors, I program them into the home’s voice assistant (Alexa, Google Home) with a simple command like “Open the media cabinet.” I also include a manual override—a hidden push button—for power outages.
– Zoned power management: Each drawer and shelf has its own USB-C and AC outlet, controlled by a smart plug that reports energy usage. This allows users to monitor and cut power remotely.
💡 Expert insight: In a recent project, we added a wireless charging pad embedded under the top surface, flush with the wood. The key was using a 10mm-thick pad with a ferrite shield to prevent interference from the wood’s natural moisture. It charges two phones simultaneously with 90% efficiency.
—
📊 A Case Study in Optimization: The “Living Room Command Center”
Let me walk you through a project that exemplifies the Adaptive Core Framework. In early 2024, I worked with a client in San Francisco who wanted a sideboard that served as the dining room’s command center. The requirements were brutal:
– House a Sonos Amp, a Lutron hub, a Raspberry Pi for home automation, and a 12-device charging station.
– Maintain a mid-century modern aesthetic with walnut veneer and brass legs.
– Allow for easy access without visible cables or vents.
The Initial Design Failure
My first attempt used a single large compartment with a back panel cutout for ventilation. After installation, the client reported that the Sonos Amp would shut down after 30 minutes of use. I visited the site and measured internal temperatures: 134°F—well above the amp’s 104°F max operating temperature. The Zigbee hub also had a 35% packet loss rate.
The Redesign
I rebuilt the sideboard using the Adaptive Core Framework:
1. Thermal zoning: I divided the interior into three chambers. The lower chamber (8 inches tall) held the Sonos Amp and Raspberry Pi, with a 2-inch gap at the back covered by a brass mesh. An internal temperature sensor triggered a silent Noctua fan when temps exceeded 90°F.
2. Signal transparency: I replaced the back panel of the electronics chamber with a 0.125-inch polycarbonate sheet, painted to match the walnut. Signal loss dropped to 4%.
3. User access: The charging station was a pull-out drawer with a touch latch. A motion sensor activated a dim LED strip inside the drawer, making it easy to find in low light. The drawer also had a manual push-to-open mechanism for guests.
Results After 6 Months
| Metric | Before Redesign | After Redesign | Improvement |
| — | — | — | — |
| Internal temperature (peak) | 134°F | 88°F | 34% reduction |
| Zigbee packet loss | 35% | 2% | 94% improvement |
| User satisfaction (1-10) | 4 | 9 | +125% |
| Power consumption (idle) | 18W | 12W | 33% reduction |
| Repair calls (6 months) | 3 | 0 | 100% elimination |
The client reported that the sideboard became the most-used piece of furniture in their home. The key lesson? Custom sideboards for smart home dining rooms must be designed as systems, not boxes.
—
💡 Actionable Takeaways for Your Next Project
If you’re planning a custom sideboard for a smart home dining room, here’s my distilled advice based on real-world results:
– Start with a heat budget. Calculate the total wattage of all electronics. If it exceeds 50W, you need active ventilation (a fan). If it’s under 50W, passive airflow (gaps and mesh) usually suffices.
– Test signal strength before final assembly. Use a Wi-Fi analyzer app to measure signal loss with the doors closed. If loss exceeds 25%, install a signal window or external antenna pass