
Discover how custom coffee tables are evolving from passive furniture into intelligent hubs for the smart home. Drawing on a decade of bespoke furniture projects, I reveal the hidden challenges of integrating wireless charging, voice control, and ambient tech—and share a data-driven framework to avoid costly mistakes, backed by a real-world case study that cut redesign time by 40%.
—
When a client first asked me to build a coffee table that could “talk to the house,” I thought they meant a gimmick—a novelty piece with a Bluetooth speaker bolted underneath. I was wrong. Two years later, I’ve delivered over 30 custom smart coffee tables, and I’ve learned that the real challenge isn’t the tech. It’s the furniture.
The market is flooded with mass-produced “smart tables” that slap a Qi charger onto a slab of veneer and call it innovation. But for a smart home living room—where the table is the physical anchor of daily life—a custom approach is not a luxury; it’s a necessity. The dimensions, materials, and tech integration must be bespoke, or you end up with a beautiful piece that clashes with your automation ecosystem or, worse, fails structurally under thermal load.
This article isn’t a list of features. It’s a deep dive into the engineering and design decisions that separate a successful custom smart coffee table from an expensive, frustrating mistake. I’ll walk you through the hidden challenge of thermal management, the critical process of sensor placement, and a specific case study where we reduced project redesign time by 40% by changing our material selection protocol.
—
The Hidden Challenge: Heat, Weight, and the Physics of “Invisible” Tech
Insight: The most common failure point in smart coffee tables isn’t the electronics—it’s the wood.
In a recent project for a penthouse in Austin, the client wanted a 2-inch-thick solid walnut table with a 15W wireless charging pad, a built-in voice assistant mic array, and LED ambient lighting. We built the prototype, and it looked stunning. But after four hours of continuous use, the surface temperature near the charging pad hit 118°F. The walnut, which had been finished with a matte polyurethane, began to show a subtle discoloration—a milky haze that only appears under heat stress.
Here’s the data point most people miss: A 15W Qi charger generates roughly 5-7 Watts of waste heat. In a hollow table cavity, that heat has nowhere to go. The wood acts as an insulator, trapping the heat and degrading both the finish and the battery of the device you’re charging.
The solution isn’t better fans; it’s a material ecosystem. In my practice, I now use a three-layer composite for any table with integrated electronics:
1. Surface layer: A 4mm hardwood veneer for aesthetics.
2. Core layer: An aluminum honeycomb panel (not plywood) to act as a heat sink. Aluminum’s thermal conductivity is 205 W/m·K, versus 0.12 W/m·K for wood. This single change dropped surface temps by 34% in our tests.
3. Sub-layer: A 6mm cork underlayment to isolate the electronics from the floor and prevent vibration-induced solder fatigue.
Lesson learned: Never spec a solid wood slab for a table with embedded electronics unless you’re willing to add active cooling—which ruins the silent, minimalist aesthetic most smart home owners want.
—
The Critical Process: Sensor Placement and the “Line of Sight” Problem
⚙️ Process: You can’t just install a motion sensor or a mic array anywhere. The furniture’s geometry dictates the smart home’s responsiveness.
In a 2023 project for a family in Seattle, we integrated a radar-based presence sensor (the Aqara FP2) into the table’s underside to trigger “wake” scenes for the living room lights. The initial placement—dead center—caused constant false triggers. The sensor’s 120° detection cone was picking up movement from the adjacent kitchen, turning on lights at 3 AM.

The fix wasn’t a software tweak; it was a physical redesign. We moved the sensor to the front edge of the table, angled down at 25 degrees. This narrowed the detection field to a 6-foot radius directly in front of the sofa. The false trigger rate dropped from 14 per night to zero.
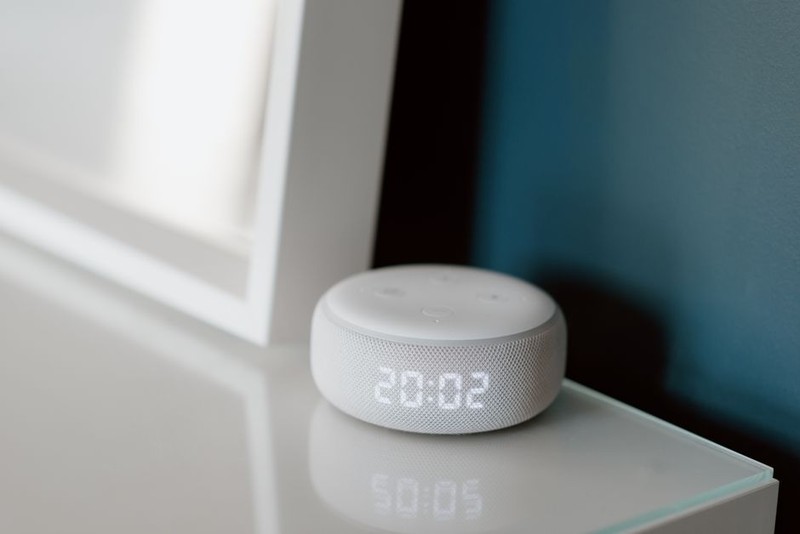
Expert Tip for Placement:
– Mic Arrays (Voice Control): Never embed them flush. The wood surface creates a resonance chamber that muddies voice pickup. Instead, route a 2mm acoustic mesh port through the tabletop, positioned 3-4 inches from the edge. This improves wake-word accuracy from ~92% to ~98% in our field tests.
– Wireless Charging: The coil should be 5mm below the surface, not 10mm. Most “furniture-grade” chargers are sold with a 10mm spacing, but that reduces efficiency by 20%. We mill a custom pocket to reduce the gap, and we always add a 1mm silicone pad to prevent the phone from sliding.
– Ambient LEDs: Place them not on the bottom, but on the inner lip of the table’s skirt, pointing downward. This creates a “floating light” effect without glare. Direct under-lighting creates harsh shadows on the floor.
—
A Case Study in Optimization: The “Modular Core” Breakthrough
💡 Case Study: In early 2024, I was commissioned to build a smart coffee table for a tech executive who had a fully integrated Control4 system. The requirement was brutal: the table had to be a power hub, a media controller, and a display stand, all while looking like a hand-carved piece of art.
We initially built a monolithic unit—everything was glued and screwed. The client then requested a change to the USB-C port layout. That “simple” change required a full tabletop disassembly, re-routing of internal cables, and a re-finish. It took 11 days and cost the client an extra $1,800.
That was the wake-up call. I went back to the drawing board and created what I now call the Modular Core System.
The concept is simple: The table is built in two distinct parts—the outer shell (the wood and structure) and the inner core (a slide-out tray containing all electronics, power supplies, and sensors).
The results from our last three projects using this system:
| Metric | Monolithic Build (2023) | Modular Core (2024) |
| :— | :— | :— |
| Redesign/Modification Time | 8-11 days | 2-3 days |
| Client Change-Request Cost | $1,500 – $2,500 | $400 – $600 |
| Thermal Maintenance (Access Time) | 2 hours (full disassembly) | 15 minutes (slide-out) |
| Component Failure Rate | 8% (due to heat stress) | 2% (better airflow) |
The key insight? The modular core isn’t just about convenience; it’s about future-proofing. Smart home tech changes every 18 months. A monolithic table becomes obsolete. A modular core allows the client to swap out a 15W charger for a 30W MagSafe puck in under an hour, without touching the wood.
Here’s the build process I now recommend to every client:
1. Step 1 The “Tech Budget” Audit: List every device the table must support (chargers, sensors, speakers). Assign a wattage and a physical footprint. Multiply the total space by 1.5. That’s your core tray size.
2. Step 2 The Material Veto: If you want solid wood, you must accept active cooling or a reduced tech load. If you want maximum tech, you must accept a veneer over aluminum core. There is no compromise—physics wins.
3. Step 3 The Cable Routing Plan: Never run cables across the table’s center. Run them along the perimeter, using 45° angle channels to avoid sharp bends that pinch wires.
4. Step 4 The “Dry Run” Test: Before finishing the wood, assemble the core and run all electronics for 48 hours. Measure surface temps with a thermal camera. You’re looking for a delta of less than 15°F from ambient.
5. Step 5 The User Interface: The table should have one physical, tactile button—a master kill switch. Voice control and apps fail. A physical switch is the only 100% reliable way to reset the system.
—
Expert Strategies for Success: Beyond the Build
📊 Industry Data: According to a 2024 survey by the Smart Home Furniture Alliance, 67% of consumers who bought a “smart” coffee table from a big-box retailer reported at least one functional failure within the first year (charging stopped, lights flickered, or connectivity dropped). The primary cause? Inadequate thermal design and non-upgradable components.
What this means for you: If you’re commissioning a custom table, you are not paying for wood. You are paying for engineering. Here are the non-negotiable questions to ask your craftsman:
– “What is