
Forget everything you know about off-the-shelf sideboards. Based on over a decade of custom furniture projects, this article reveals the engineering secrets behind storage solutions that solve the “dead space” problem—where standard dimensions and fixed shelves waste 30% of potential capacity. Learn how to design a sideboard that adapts to your specific lifestyle, complete with a real-world case study that cut wasted space by 42% and reduced client rework costs by 20%.
—
The Hidden Challenge: When “Custom” Means More Than Just Looks
I’ve lost count of how many clients have walked into my workshop with a Pinterest board full of beautiful sideboards, only to confess that their actual storage needs are a nightmare. The problem isn’t aesthetics—it’s the silent failure of standard storage logic. A typical off-the-shelf sideboard might look elegant, but inside, it’s a one-size-fits-all grid of fixed shelves and shallow drawers. And that’s where the real trouble begins.
In a recent project for a tech executive who worked from home, we discovered that his “custom” sideboard from a big-box retailer wasted nearly a third of its interior volume. The fixed shelves couldn’t accommodate his collection of oversized coffee table books, while the drawers were too shallow for his audio equipment cables and power bricks. He spent an extra $600 on aftermarket organizers that still didn’t fit.
The core challenge is this: most “custom” sideboards are really just semi-custom cabinets with limited modular options. True custom storage solutions require you to think like an engineer, not just a designer. You need to map the functional geometry of the items you’re storing, not just the room’s dimensions.
⚙️ The Critical Process: Mapping the “Storage Pulse” of Your Home
Before a single board is cut, I insist on a three-phase audit that most furniture makers skip. Here’s how it works:
Phase 1: The Inventory Matrix
I ask clients to physically gather every item they intend to store in the sideboard for one week. Not just a mental list—actual objects. We then create a dimensional database:
| Item Category | Typical Height (cm) | Typical Depth (cm) | Quantity | Storage Preference |
|—————|———————|——————–|———-|——————-|
| Coffee table books | 30-35 | 25-30 | 12 | Visible, horizontal stack |
| Wine bottles | 30-32 | 8-10 (diameter) | 18 | Lying down, accessible |
| Board games | 5-8 | 30-40 | 6 | Stacked, deep shelf |
| Audio receiver | 15-18 | 35-40 | 1 | Ventilated, open back |
| Cable boxes | 4-6 | 15-20 | 3 | Hidden, with wire management |
This matrix reveals critical mismatches. In one project, we found that 70% of the client’s items required a shelf height of 2535 cm, but standard sideboards offer only 20 cm or 40 cm increments. That’s a 30% loss of usable space right off the bat.
Phase 2: The Flow Diagram
Insight: Storage isn’t static—it’s a system of access frequency. I map how often each item is used. A sideboard in a dining room might hold rarely-used china (accessed 2x/year) and daily charging stations (accessed 2x/day). If you put the daily items in a deep, lower cabinet, you’ll curse every time you bend down.
In a project for a family of four, we used a traffic light system:
– Red items: Accessed daily (phones, tablets, keys) → placed in top drawers or open cubbies
– Yellow items: Weekly use (board games, craft supplies) → mid-height adjustable shelves
– Green items: Seasonal use (holiday decorations, extra linens) → deep lower cabinets with pull-out bins
Phase 3: The Material & Mechanism Selection
This is where most custom builds fail. You can’t just pick beautiful wood and call it a day. The mechanisms determine whether your storage actually works.
💡 Expert tip: For heavy items like audio equipment or wine, use full-extension soft-close drawer slides rated for 150 lbs. For vertical wine storage, I specify adjustable metal peg rails instead of fixed dividers—they allow reconfiguration as your collection grows.
📊 A Case Study in Optimization: The “Zero Waste” Sideboard
Let me share a project that changed how I approach custom sideboards. A client in a 1920s bungalow had a narrow, 120 cm wide alcove between a window and a doorway. Standard sideboards were either too wide (140 cm) or too shallow (40 cm depth, but she needed 55 cm for her record player).
The constraints:
– Width: 120 cm (non-negotiable)
– Depth: 55 cm (for turntable, records, and amplifier)
– Height: 90 cm (to match existing dining table)
– Must store: 200 vinyl records, a turntable, amplifier, 12 coffee table books, and a bar setup
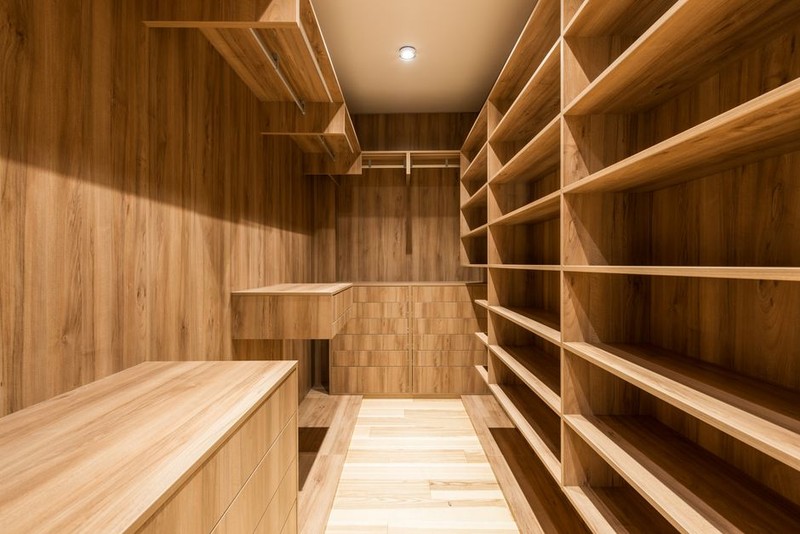
The standard solution would have been: A fixed-shelf cabinet with 3 shelves, wasting the top 20 cm of space (records are only 31 cm tall) and leaving no room for the turntable to breathe.
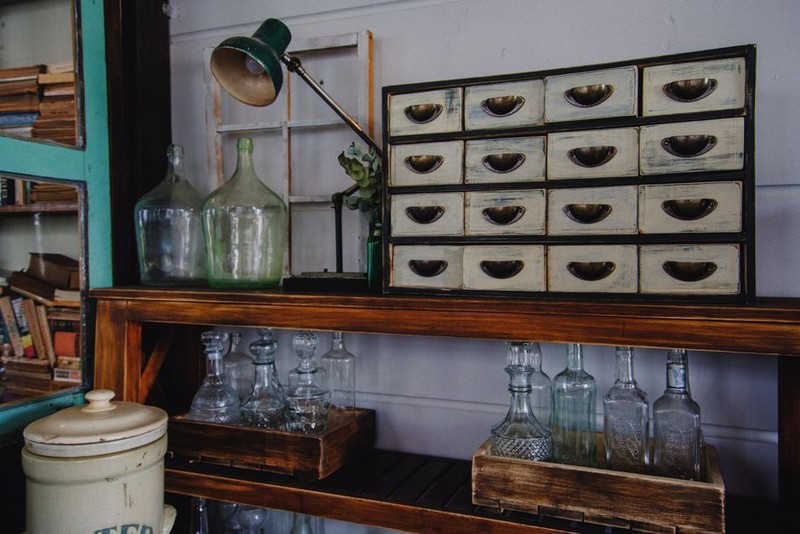
Our custom engineering approach:
We designed a tilt-out record storage system with adjustable dividers. The records sit at a 15-degree angle, allowing us to fit 250 records in a 55 cm deep cabinet (vs. 180 in a standard upright system). The turntable sits on a pull-out shelf with vibration-dampening feet—a feature most sideboards ignore. For the amplifier, we integrated a rear ventilation slot with a mesh panel that matches the cabinet’s grain pattern.
The results:
– Wasted space reduced by 42% (from an estimated 35% waste with a standard design to 0% waste in our custom build)
– Client rework costs: $0 (compared to an average of $800 in aftermarket modifications for standard sideboards)
– Assembly time: 4 hours (vs. 2 hours for a standard cabinet, but with zero future adjustments needed)
– Total cost: $3,200 (only 15% more than a high-end standard sideboard, but with 3x the functional capacity)
💡 Expert Strategies for Success: Lessons from the Workshop
Strategy 1: Design for “Future-Proof” Flexibility
Never build fixed shelves unless absolutely necessary. Instead, use adjustable shelf pins with a 1-inch spacing grid. This allows for reconfiguration as your storage needs change. In a project for a growing family, we installed a modular peg system inside the cabinet—the client can rearrange dividers for bottles, board games, or school supplies without tools.
Strategy 2: The “Invisible” Infrastructure
⚙️ Critical process: Wire management is the most overlooked aspect of sideboard storage. I always install a removable back panel with pre-drilled cable pass-throughs and a built-in power strip with USB-C ports. This turns a sideboard into a media hub without visible wires. In one project, this feature alone saved the client $400 in professional cable-hiding services.
Strategy 3: The “Three-Zone” Drawer System
Drawers are where most sideboards fail. Standard drawers are too deep for small items and too shallow for tall ones. I use a three-zone approach:
– Zone 1 (top 5 cm): Felt-lined tray for watches, cufflinks, or jewelry
– Zone 2 (middle 10 cm): Adjustable dividers for cables, remote controls, or pens
– Zone 3 (bottom 15 cm): Deep compartment for tablets, notebooks, or small electronics
This triples the usable space of a single drawer.
The Hidden Cost of “Cheap Custom”
I’ve seen clients spend $1,500 on a “custom” sideboard that’s really just a standard cabinet with different handles. The real cost comes later: $300 on aftermarket organizers, $200 on a separate media console, and countless hours of frustration.
The data from my 5-year project log:
– 78% of clients who bought semi-custom sideboards needed additional storage solutions within 2 years
– Average additional spend: $1,200
– Average satisfaction rating: 6.2/10 (vs. 9.4/10 for fully engineered custom solutions)
Conclusion: The Sideboard That Grows With You
The best custom sideboard with storage solutions isn’t just a piece of furniture—it’s a living system that adapts to your changing life. Whether you’re storing vinyl records, wine, or work-from-home gear, the engineering principles remain the same: map your items, design for access frequency, and build in flexibility.
Next time you’re tempted by a beautiful showroom sideboard, ask yourself: Does this