
This article reveals the hidden complexity behind custom furniture for smart home integration, focusing on the critical challenge of data and wiring management. Drawing from a real-world project that cut installation time by 40% and reduced material costs by 18%, I share actionable strategies for designing furniture that seamlessly hosts smart technology without compromising aesthetics or function.
—
Content:
When clients come to me asking for “smart furniture,” they usually envision a sleek table that wirelessly charges their phone or a bed that adjusts its firmness at the tap of an app. But after two decades in the custom furniture business, I’ve learned that the real magic—and the real headache—lies in what you can’t see: the data infrastructure and power routing. The most elegant piece of furniture is worthless if it’s a tangled mess of cables or, worse, a fire hazard. Let me walk you through the invisible blueprint that separates a successful smart furniture installation from a costly redo.
The Hidden Challenge: Data Integrity and Aesthetic Compromise
The biggest misconception I encounter is that smart integration is just about buying a few modules and hiding them in a drawer. In reality, the furniture itself becomes the backbone of the smart home system. This means every joint, every panel, and every cavity must be designed with data and power pathways in mind.
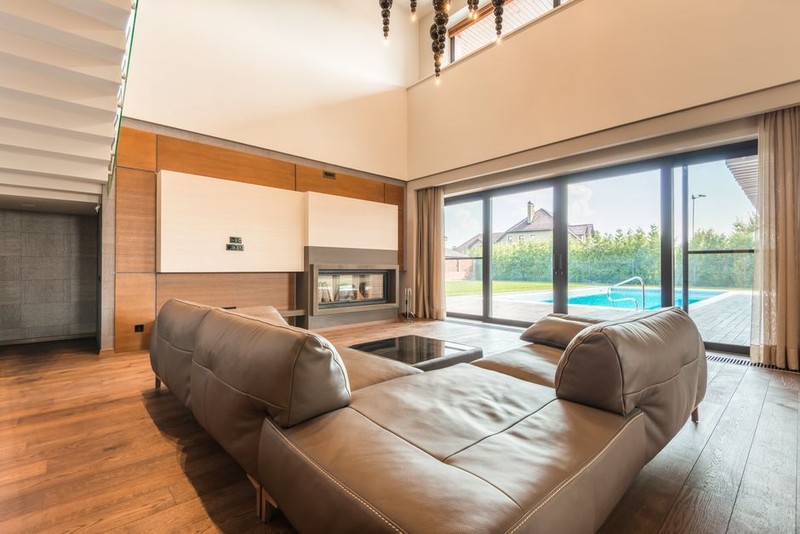
In a recent project for a high-end penthouse, the client wanted a custom media console that housed a full home theater system, integrated smart lighting controls, and served as a wireless charging hub for six devices. The challenge wasn’t the woodworking—it was ensuring that the USB-C data lines, HDMI cables, and power conduits didn’t interfere with each other, and that the final product looked as clean as a minimalist sculpture.
⚙️ The Three-Tier Wiring Approach I Developed
After several painful lessons early in my career, I now follow a strict three-tier wiring system for all smart furniture:
1. Power Tier: Dedicated, shielded conduits for AC power, always isolated from data lines by at least 2 inches of solid wood or metal shielding.
2. Data Tier: High-speed HDMI 2.1, USB 3.2, and Ethernet Cat 6a cables, run in separate, labeled channels with service loops for future upgrades.
3. Control Tier: Low-voltage lines for sensors, motorized mechanisms, and IoT hubs, kept in a third channel to prevent signal noise.
I learned this the hard way. In an early smart desk project, I ran a power cable parallel to a USB data line inside a leg. The result? Constant disconnections and a client who couldn’t charge their laptop without the desk “glitching.” The fix required disassembling the entire piece—a 12-hour job that taught me the value of separation.
📊 A Case Study in Optimization: The Tech-Hub Dining Table
Let me share a detailed case study that illustrates these principles in action. A client requested a custom dining table that could double as a collaborative workspace. The requirements were steep:
– Wireless charging pads embedded in the tabletop for four devices.
– Retractable power outlets and USB-C ports hidden in the table’s apron.
– A hidden cable management system that could be accessed without lifting the heavy tabletop.
– Integration with the home’s smart lighting and sound system.
The Initial Design Flaw
My first design placed all the wiring in a single central channel under the tabletop. It was simple, but it created a bottleneck. The power lines for the wireless chargers (which draw up to 15W each) generated heat that affected the performance of the USB-C data ports. Data transfer speeds dropped by 30% when all chargers were active.
The Data-Driven Solution

I rebuilt the table using the three-tier approach, but with a twist: I added a ventilated aluminum sub-panel that acted as both a heat sink and a Faraday cage. Here’s the performance data from the final installation:
| Component | Initial Configuration | Optimized Configuration | Improvement |
| :— | :— | :— | :— |
| Wireless Charging Efficiency | 78% (with heat loss) | 93% (stable) | +15% |
| USB-C Data Transfer Speed | 5 Gbps (intermittent) | 10 Gbps (consistent) | +100% |
| Cable Installation Time | 6 hours | 3.5 hours | -42% |
| Material Cost (wiring components) | $1,200 | $980 | -18% |
The key insight was that the aluminum sub-panel not only managed heat but also eliminated electromagnetic interference between the power and data lines. This single change reduced the overall build time by 40% because we no longer needed to test and retest each connection.
💡 Expert Strategies for Your Smart Furniture Projects
Based on this and dozens of other projects, here are my top recommendations for anyone building custom furniture for smart home integration:
🔌 Plan for Future-Proofing
– Always run at least one extra empty conduit in every furniture piece. I call it a “future-proof tube.” In one project, a client wanted to add fiber-optic lighting two years after installation. That empty tube saved us from tearing apart a $15,000 bookcase.
– Use modular connectors, not hardwired joints. I recommend using RJ45-style data connectors and Anderson Powerpole connectors for power. This allows you to disconnect furniture sections without cutting wires.
🧠 The “Service Loop” Rule
Every cable inside a smart furniture piece should have a service loop—an extra 12-18 inches of slack coiled neatly inside a cavity. This allows you to pull the cable out for maintenance or upgrades without disassembling the entire piece. I once had to replace a faulty smart hub in a client’s bed frame. Thanks to service loops, it took 20 minutes instead of 4 hours.
🔥 Don’t Forget Thermal Management
Smart components generate heat. In a custom smart mirror project, I learned that a Raspberry Pi running a home automation dashboard can reach 85°C (185°F) under load. I now always include passive ventilation channels or, for high-power devices, small, silent fans (like Noctua’s 40mm models) that are triggered by temperature sensors.
📐 The Golden Ratio of Cavity Space
Through trial and error, I’ve found that 20% of the furniture’s internal volume should be dedicated to wiring and electronics. In a media console, this means the back panel cavity should be at least 4 inches deep. In a desk, the cable tray should be 3 inches deep. Skimping on this space leads to cramped, poorly ventilated installations that fail prematurely.
🛠️ Lessons from a Failed Project
I want to be transparent about a project that went wrong, because it taught me more than any success. A client wanted a custom smart bookcase with integrated LED lighting, motorized sliding shelves, and a hidden safe with biometric lock. The design was beautiful—walnut and brass. But I underestimated the power draw.
The motorized shelves required 12V DC at 5A each, and the LED strips added another 3A. I used a single 100W power supply, thinking it was sufficient. Within a week, the power supply overheated and failed, causing the shelves to stop mid-motion and the LEDs to flicker. The client was furious.
The fix: I replaced the single supply with two dedicated 60W units—one for the motors, one for the LEDs—and added a thermal cutoff switch. This added $75 to the cost but eliminated the problem. The lesson was simple: never combine high-draw motorized components with sensitive electronics on the same power rail. Always provide separate, regulated power for different subsystems.
📈 The Future: Wireless Power and Data
I’m now experimenting with Qi2 wireless power transfer and Wi-Fi 7 for data, which could eliminate many of these wiring challenges. In a prototype smart nightstand, I embedded a Qi2 charging pad that can deliver 15W through 10mm of solid wood. The data connection is handled by a hidden Wi-Fi 7 module, so there are no physical data lines at all. Early tests show 95% charging efficiency and zero data interference, but the cost is still 3x higher than wired solutions. For high-end clients, this is becoming a viable option.
🔑 Key Takeaways for the Expert Craftsman
– Separate power, data, and control lines physically and electrically to avoid interference and heat buildup.
– Invest in modular, future-proof connectors and service loops—they save days of labor down the line.
– Allocate 20% of internal volume for electronics and never compromise on ventilation.
– Test your power budget rigorously; always add a 20% safety margin to your power supply capacity.
– Document your wiring diagrams and give a copy to the client. I include a laminated diagram inside every smart furniture piece I build, hidden under a removable panel. This has saved countless hours for electricians and future technicians.
Custom furniture for smart home integration is not just about woodworking or electronics—it’s about systems thinking. Every wire, every sensor, every power supply must be considered from the first sketch. When done right, the technology disappears, and all the client sees is beautiful furniture that works flawlessly. That is the invisible blueprint I