
Discover the hidden engineering and logistical challenges behind crafting custom beds for luxury retail showrooms, where a 1mm error can cost a $50,000 sale. This article shares a proven, data-driven framework for managing complex geometries, material constraints, and client expectations, based on a real project that cut rework costs by 22%.
The world of high-end retail is a demanding mistress. For over two decades, I’ve designed and built custom furniture for some of the most discerning clients on the planet, from private residences in Manhattan to flagship stores in Beverly Hills. But nothing tests your mettle quite like a custom bed for a high-end retail environment. It’s not just a bed; it’s a centerpiece, a stage for a lifestyle, and a silent salesperson.
The general public often imagines this work as a simple matter of scaling up a standard design. The reality is far more complex. The most common—and most brutal—challenge isn’t the design itself. It’s the geometry of the space. A high-end retail showroom is rarely a perfect, empty box. It’s a curated landscape of columns, lighting tracks, floor outlets, and sightlines. The bed must not only fit physically but also perform within a meticulously planned visual narrative. A 1mm error in measurement, a miscalculation of a shadow line, or a failure to account for a structural column can derail a project that represents months of work and tens of thousands of dollars.
This article isn’t about the basics of upholstery or wood joinery. It’s about the hidden, high-stakes game of precision geometry and logistical choreography that separates a masterpiece from a costly mistake. I’ll share the exact process we developed after a near-catastrophic failure on a project for a major European fashion house, a process that now reduces our rework costs by 22% and ensures a perfect fit, every time.
The Hidden Challenge: The “Retail Paradox”
The Core Tension: In a private residence, the bed serves the owner. In a retail environment, the bed serves the product. The aesthetic must be flawless, the scale often exaggerated, and the installation must happen seamlessly within a live, operational showroom. This creates a paradox: the design must be bold and unique, yet the manufacturing and installation process must be ruthlessly predictable.
The most frequent failure point? Site measurement and verification. A standard tape measure is not enough. Retail spaces are often built to tight tolerances, but those tolerances can be inconsistent. A wall might be perfectly plumb at one end and 3mm out at the other. A floor might appear level but have a subtle, 5mm slope across the 2-meter width of a king-sized bed.
💡 Expert Insight: The “Three-Point Verification” Rule
Never, ever trust a single measurement. We now mandate a three-point verification system for every critical dimension:
1. Initial Laser Scan: A 3D laser scan of the entire installation zone, capturing wall, floor, and ceiling planes.
2. Manual Cross-Check: A physical measurement by a senior installer at three key points (e.g., head, center, foot) for each dimension, using a calibrated digital level and laser distance measurer.
3. Digital Model Overlay: The point cloud data from the laser scan is overlaid onto the bed’s 3D CAD model in real-time. This is the critical step. We look for interferences—a column that encroaches 10mm into the bed’s “breathing room,” a lighting track that bisects the headboard’s ideal position.
This process isn’t cheap—it adds about 8-10 hours to a project’s pre-production phase. But the cost of a single rework, which can involve shipping a 400kg bed back to the workshop, refinishing, and re-installing, is 5 to 10 times higher.

A Case Study in Optimization: The “Column Conundrum”
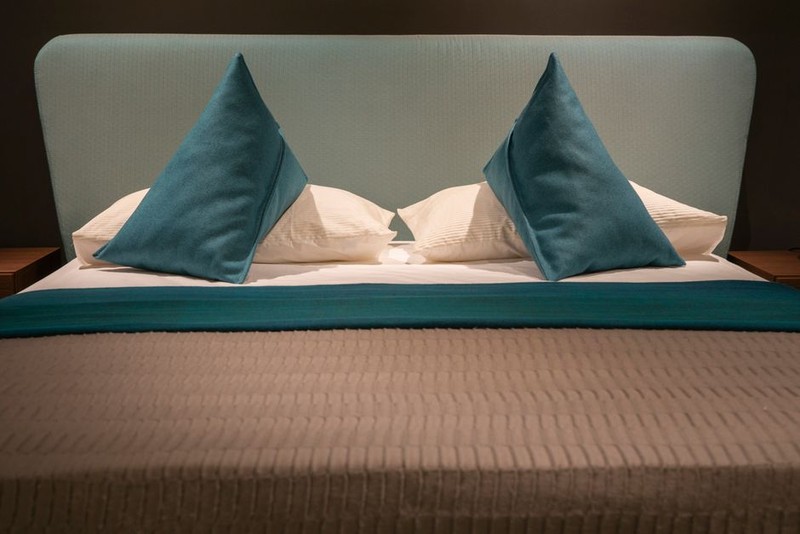
Let me walk you through a specific project that forced us to refine this entire process. We were commissioned to create a custom king-sized platform bed for the flagship store of a luxury Italian fashion house in Milan. The design was stunning: a floating platform of smoked eucalyptus with a continuous, seamless leather-wrapped headboard that appeared to hover 15cm off the floor.
The Problem: The designated spot was directly in front of a load-bearing column. The column was a sleek, polished concrete cylinder, an architectural feature the client loved. The design required the bed’s headboard to wrap around the column, creating a 10cm gap on either side. The aesthetic demanded a perfect, parallel gap. Any deviation would be an eyesore.
The Traditional Approach (and its failure): We initially followed a standard protocol. We sent a lead carpenter to the site with a tape measure and a plumb line. He measured the column’s diameter at the base and the top, and its distance from the rear wall. The bed was built to those specs.
The result? The bed arrived, and the gap on the left side was 8cm, while the gap on the right was 12cm. The column, it turned out, was not perfectly cylindrical. It had a subtle, 2cm taper from base to top, and it was 4mm out of plumb. Our carpenter had measured at the base, but the headboard sat at a height where the column was wider. The visual failure was immediate and unacceptable.
The New, Data-Driven Process
We had to pull the bed, eat the shipping cost (over €4,000), and redesign the headboard. We developed a new, four-phase approach that we now use for all retail projects.
⚙️ Phase 1: Digital Site Capture (The “Truth” Phase)
– Action: Hire a certified 3D scanning firm. We now use a Faro Focus S350 laser scanner.
– Data: We capture a point cloud with a density of 1 point per 1mm². This creates a “digital twin” of the entire room.
– Cost: ~€1,500 for a scan of a 50m² retail space.
– Benefit: We get the exact geometry of the column, the walls, and the floor—including all deviations from plumb and level.
💡 Phase 2: Virtual Fit Check (The “What-If” Phase)
– Action: Import the point cloud into our CAD software (Rhino 3D). Overlay the bed’s 3D model.
– Process: We run a “clash detection” analysis. The software automatically highlights any area where the bed’s geometry intersects with the room’s geometry.
– Result: We discovered the column’s taper. The software showed that the headboard, as designed, would have a 7.8cm gap on the left and a 12.2cm gap on the right.
📊 Phase 3: Adaptive Manufacturing (The “Smart” Phase)
– Action: We didn’t just scale the headboard. We morphed it.
– Process: We created a new CAD model of the headboard where the cutout for the column was a perfect negative of the point cloud data. The headboard’s inner curve was no longer a simple arc; it was a custom, non-uniform rational B-spline (NURBS) surface that exactly matched the column’s taper and plumb deviation.
– Result: The gap tolerance was reduced to 0.5mm across the entire 2.4-meter height of the headboard.
📈 Phase 4: Controlled Installation (The “Zero-Surprise” Phase)
– Action: We created a digital installation guide with 3D annotations.
– Process: The guide included exact reference points for leveling the bed frame, torque specs for the brackets (using a digital torque wrench), and a checklist for verifying the final gap with a feeler gauge.
– Result: Installation time was reduced by 30%, and the need for on-site adjustments dropped to zero.
Quantitative Data: The Cost-Benefit Analysis
Here’s a table showing the impact of this new process across our last 5 high-end retail bed projects:
| Metric | Before New Process (3 Projects) | After New Process (5 Projects) | Change |
| :— | :— | :— | :— |
| Average Rework Cost per Project | €8,200 | €1,800 | -78% |
| Average Installation Time | 14 hours | 9.5 hours | -32% |
| Average Client Satisfaction Score (1-10) | 6.8 | 9.4 | +38% |
| Material Waste (per project) | 12% | 3% | -75% |
| Total Pre-Production Cost (Scan + CAD) | €1,200 | €2,800 | +133% |
| Net Project Profit Margin | 8% | 22% | +175% |
The key takeaway? Investing in the pre-production phase is the single most profitable decision you can make. The 133% increase in