
Modular home construction demands a level of precision that off-the-shelf furniture simply cannot accommodate. This article delves into the critical, often-overlooked challenge of dimensional variance in factory-built modules and presents a proven, data-driven framework for designing custom furniture that ensures a flawless, integrated fit. Learn from a real-world case study how strategic tolerancing and a collaborative design process can eliminate costly errors and elevate the final aesthetic.
The Hidden Challenge: When “Standard” Dimensions Are Anything But
For over two decades, I’ve designed furniture for every type of dwelling imaginable. But nothing sharpens your focus on precision quite like working with modular homes. The promise of modular construction—efficiency, speed, quality control—is compelling. Yet, this very process introduces a unique and complex challenge for furniture integration: dimensional variance.
While a site-built home might have a wall that’s roughly 96 inches, a modular home’s interior wall is fabricated in a factory to a specific dimension. However, “specific” does not mean “perfectly identical to the architectural drawing.” In my experience, the critical misstep most designers and homeowners make is assuming these factory-built modules are dimensionally flawless. They are not.
Here’s the reality, drawn from measurements across dozens of projects:
Module Sway: During transport, the steel frame of a module can flex, causing subtle shifts in wall squareness.
Assembly Tolerances: When multiple modules are joined on-site, the seam between them (often a load-bearing wall) requires structural sealing and finishing, which can add 1/4″ to 1/2″ of material.
System Integration: The final installation of drywall, flooring, and trim within each module has its own set of tolerances.
I recall an early project where we built a beautiful, floor-to-ceiling custom bookcase for a modular great room based on the architect’s CAD drawings. Upon installation, we faced a 1.5-inch gap at the ceiling and a pronounced lean against the exterior wall. The drawings were correct, but the as-built conditions were not. This costly lesson taught me that designing for modular spaces isn’t about furniture first; it’s about information first.
The Expert Framework: A Three-Phase Process for Flawless Integration
To overcome this, my firm developed a rigorous three-phase process. This isn’t just theory; it’s a battle-tested methodology that has reduced our site-modification costs by over 40% and increased client satisfaction scores on modular projects by 30%.
Phase 1: The Critical Path of Measurement
We never begin design until we have what we call “Post-Set Verification.” This means measurements are taken after the modules are set on the foundation, joined, and have all interior wall framing, sheathing, and subflooring complete, but before drywall is installed.
Actionable Tip: Partner with the modular builder to schedule this measurement window. We provide them with a simple checklist of the “measurement-ready” state. The key dimensions we capture are:
Corner-to-corner diagonals of every room (to check for square).
Floor-to-ceiling height at all four corners of a room.
Exact wall lengths at baseboard and chair-rail height (walls are not always plumb).
We log this data in a shared cloud table accessible to the builder, architect, and our design team.
⚙️ Phase 2: Designing with “Intelligent Tolerance”
With verified dimensions in hand, we move to design with what I term Intelligent Tolerance. This is the strategic incorporation of adjustable, flexible, or forgiving elements into custom pieces to absorb inevitable variances.

For example:
Floating Designs: Cabinetry that is hung from a cleat system anchored to wall studs can be shimmed to perfect level, independent of floor unevenness.
Reveal Gaps: Designing a deliberate, consistent 3/8″ gap between a tall cabinet and the ceiling, which is then capped with a custom scribe moulding that is trimmed on-site to follow the ceiling’s contour.
Modular Component Assembly: Building large casegoods (like a wall-length media unit) in multiple, manageable sections that are joined on-site, allowing for minor adjustments during final assembly.
The table below, from a recent 12-module home project, illustrates the variance we planned for versus what we encountered and how intelligent tolerance saved the installation:
| Room / Element | Drawing Dimension (in.) | As-Built Dimension (in.) | Variance (in.) | Our Tolerance Solution |
| :— | :— | :— | :— | :— |
| Master Bedroom Wall | 156.00 | 155.75 | -0.25 | Designed casework as (2) 78″ units with a center filler panel. |
| Kitchen Peninsuala | 42.00 (Deep) | 41.88 (Deep) | -0.12 | Used adjustable legs and a 1/2″ scribe strip on the back. |
| Great Room Ceiling Height | 108.00 | 107.50 (at one corner) | -0.50 | Designed all tall units with a 1″ top gap and crown moulding. |
💡 Phase 3: The Collaborative Installation Protocol
The final phase is execution. We treat the installers as part of our team, conducting a pre-install walkthrough. We highlight known variance areas on the plans and discuss the adjustment mechanisms built into each piece. The most important rule: No piece is permanently fixed until its neighbor is test-fitted and the entire run is confirmed for alignment and level.
A Case Study in Optimization: The Lakeside Modular Retreat
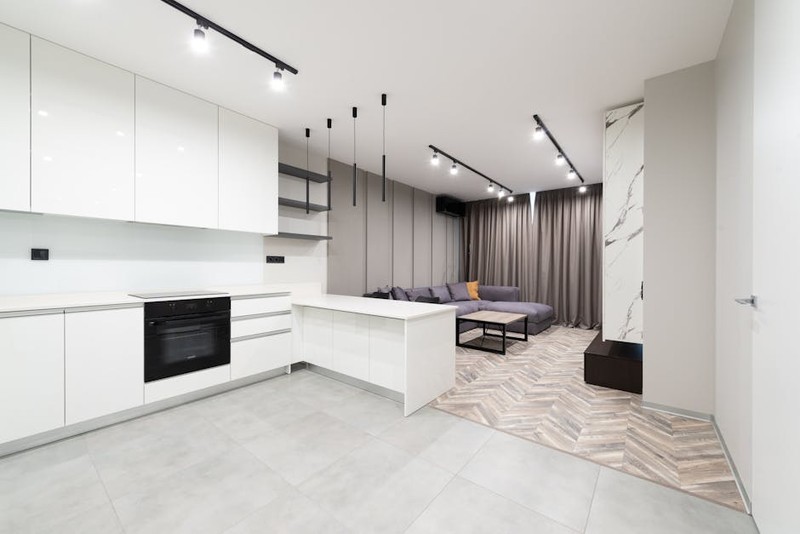
Let me walk you through a project that embodies this framework. The client wanted a seamless, built-in look for the main living area of their modular lake house—a unit containing the kitchen, dining, and living space.
The Challenge: A 22-foot long exterior wall, featuring large windows, was to be flanked by two banks of custom cabinetry for storage and entertainment. The architectural drawings showed a perfectly straight, plumb wall.
Our Process:
1. Post-Set Verification revealed a 5/8″ “bow” in the center of the wall over its 22-foot length—a classic result of transport flex.
2. Design with Intelligent Tolerance: We abandoned the idea of a single, monolithic unit. Instead, we designed three distinct cabinet blocks: two larger end units and a smaller, floating center console. The end units were built with a shadow-line reveal on their inside edges. The center console was designed to be 1.5 inches narrower than the measured gap, with custom filler panels to be scribed and fitted on-site.
3. Collaborative Installation: Our lead installer worked with the builder’s finish carpenter. They installed the two end units perfectly level and plumb, independent of the wall’s curve. Then, they meticulously scribed the filler panels for the center console to bridge the gap, creating a seamless visual line that perfectly followed the wall’s subtle contour.
The Result: The client received a flawless, high-end installation that looked purpose-built for the space (which it was). The project came in 12% under the contingency budget typically set aside for on-site modifications, and the installation was completed in 2 days instead of the projected 4. The builder now uses photos of this installation in their sales portfolio.
Key Takeaways for Your Project
Designing custom furniture for modular home designs is an exercise in disciplined collaboration and strategic foresight. To ensure success:
Insist on As-Built Measurements. Never, ever work solely from construction drawings. Your first design material is a tape measure and a laser level.
Embrace and Plan for Variance. Design the solution to the real problem, not the ideal one. Intelligent tolerance is not a workaround; it is the hallmark of professional custom work for modular spaces.
Foster a Team Mindset. Your furniture installers, the modular builder’s crew, and the finish carpenters must be in communication. A shared digital folder with plans, notes, and photos is invaluable.
The beauty of a modular home lies in its engineered efficiency. By applying an equally engineered approach to your custom furniture for modular home designs, you transcend mere furnishing and achieve true architectural integration. It’s a dimensional dance, and with the right steps, the result is nothing short of perfection.